
Getting started: Repairs with outside service providers
Axle helps you organize fleet maintenance, coordinate repairs, and keep records for your assets. This guide will help you get set up with everything you need to send your first repair to an external service provider. You’ll also see how to follow its progress and review the repair documents afterward.
This guide is relevant whether you outsource some repairs, or all of them.
You'll find your workspace already populated with demo data, to give you an idea for how things look in Axle. Click around to get a feel, then dive right in to the steps below!
1) Sign in and get familiar with Axle
Sign in
First, make sure you're signed into Axle. Visit app.axlemobility.com and enter your email and password. You may be asked to enter a one-time verification code sent to your email.
If this is your first time signing in, you'll be asked to set your password. Once you do that, you're ready to start using Axle!
Get familiar with the basics
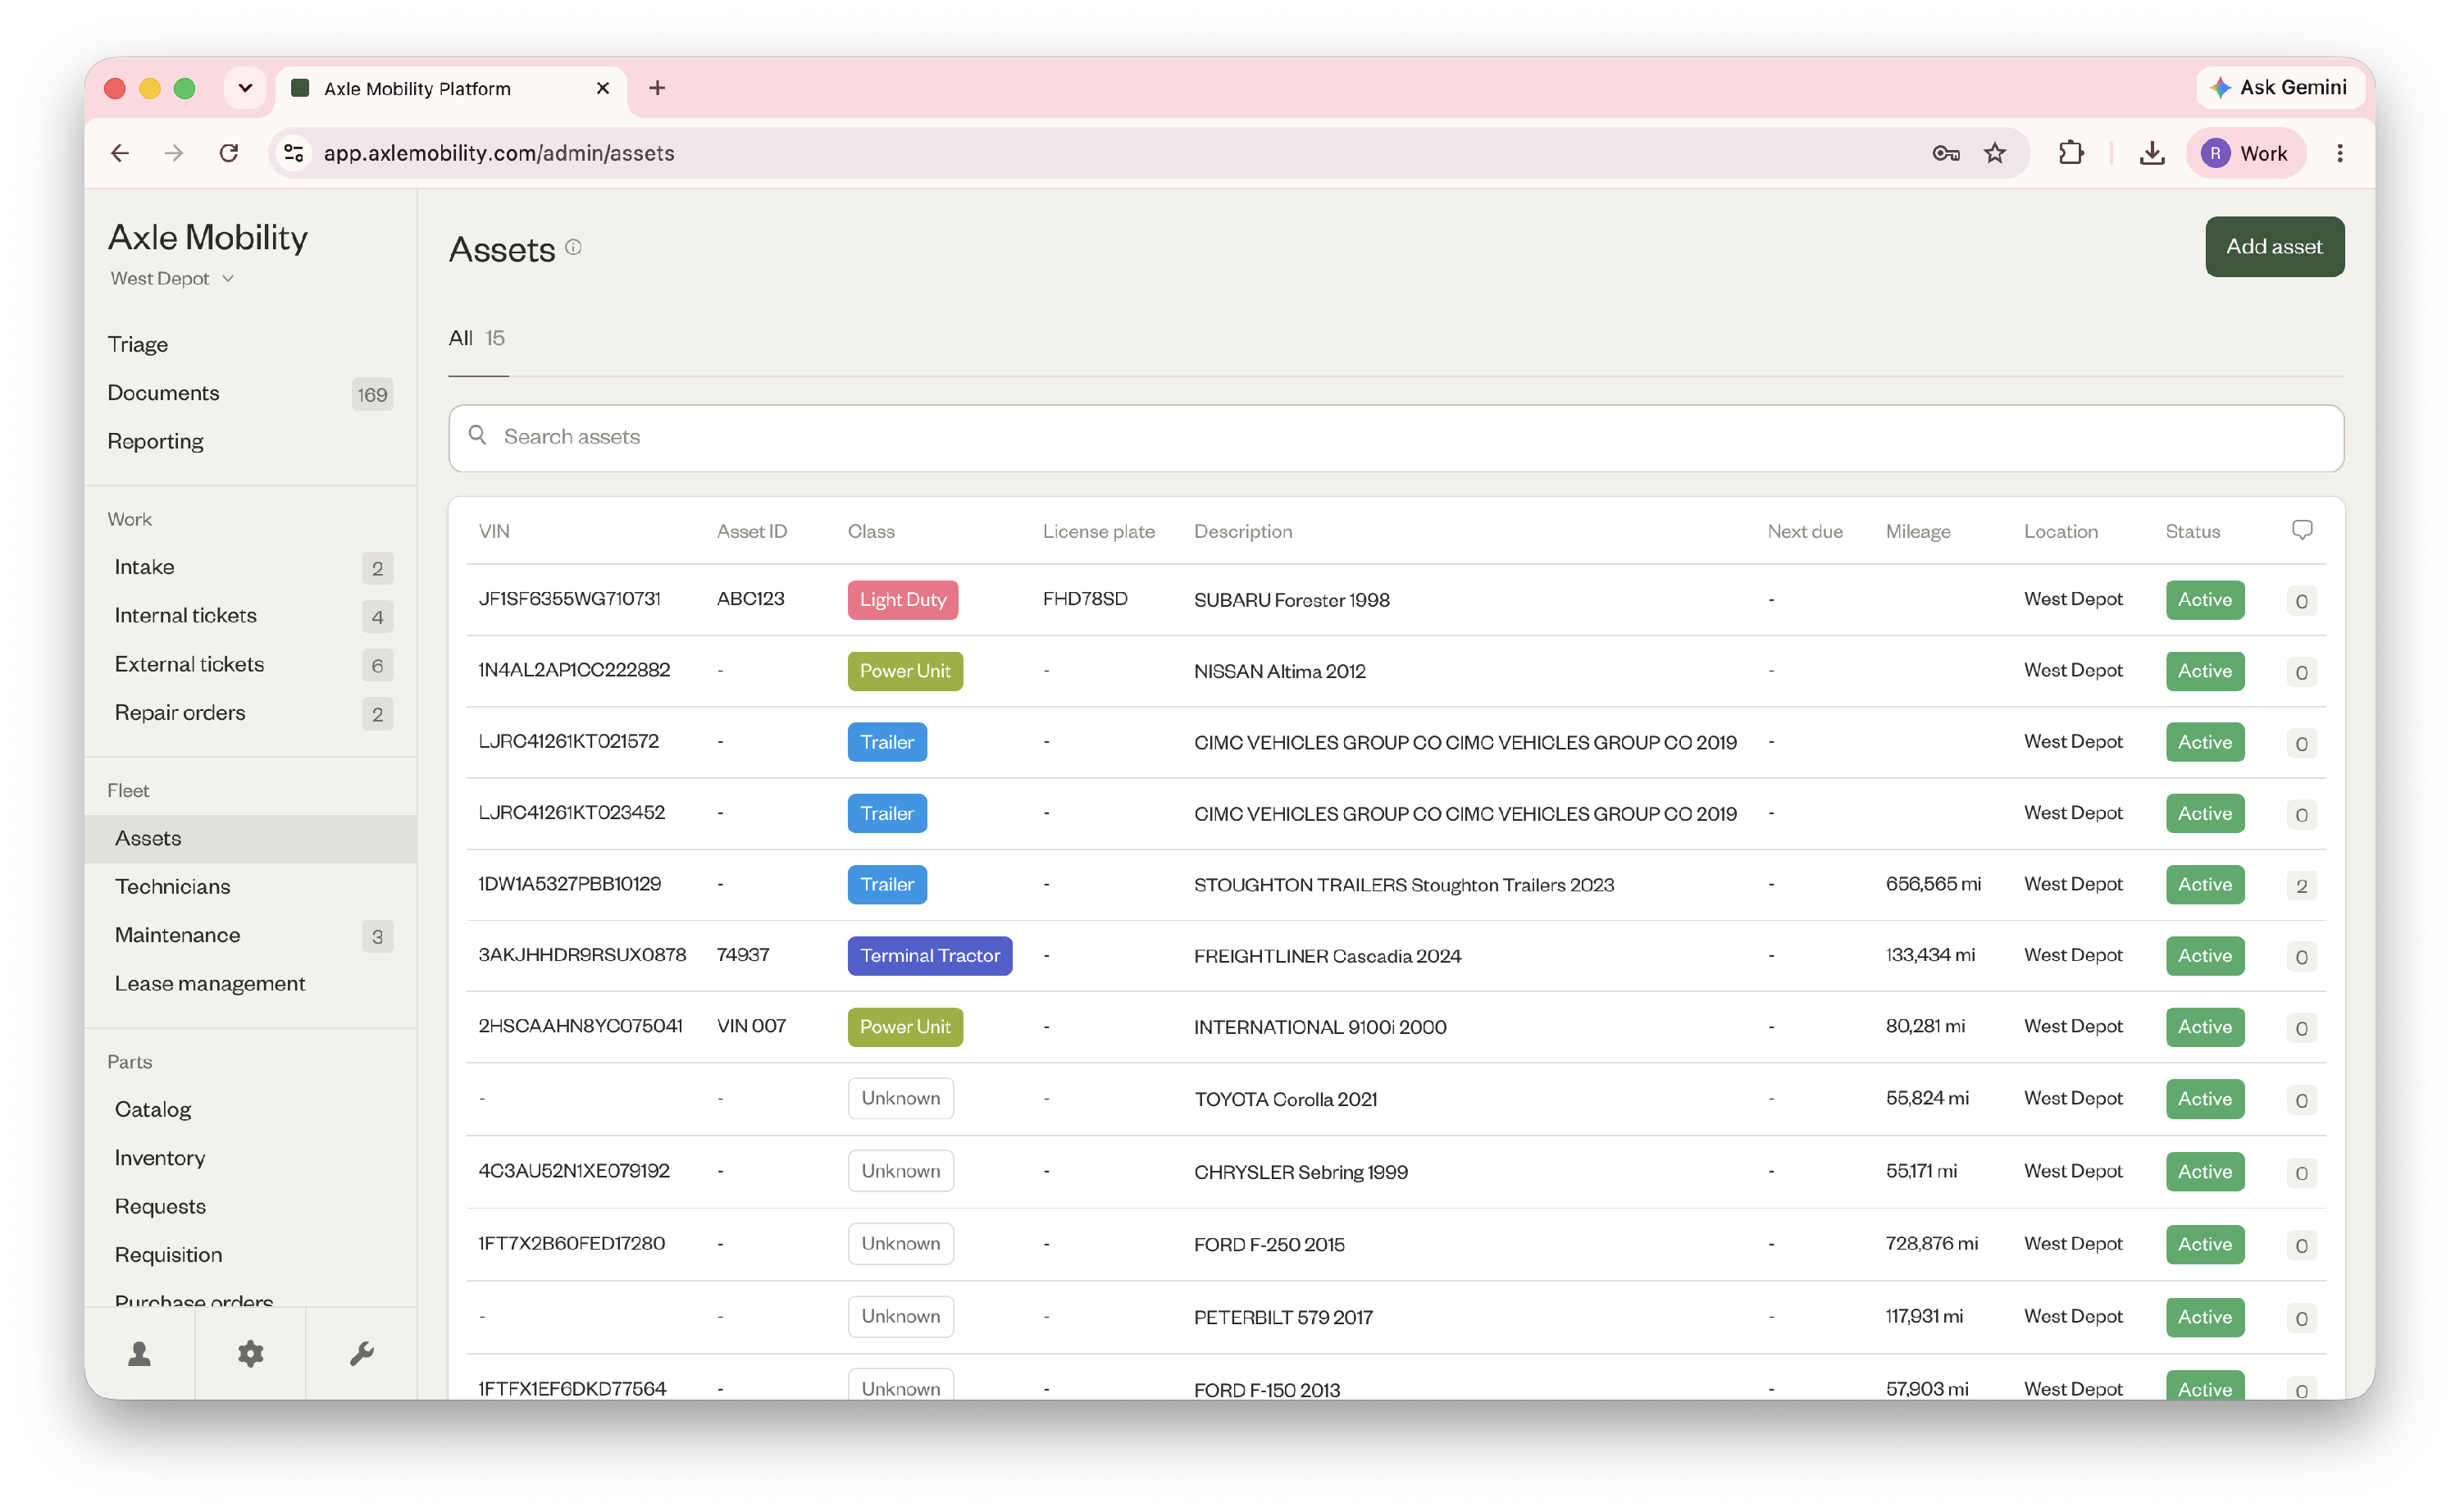
In the Fleet section of your sidebar, go to Assets to see your list of assets at the current site. You'll be able to create work requests, create maintenance schedules, upload leases, etc. for each asset.
In the Providers section, go to Service Providers to see your list of providers who service assets at this site. You'll be able to create external tickets and dispatch them to service providers to complete, where they'll receive a link to respond to the ticket.

2) Set up your account
Before you send your first repair to a service provider, make sure your account is set up with at least one site, one asset, and one service provider. You can use the demo data already in your account, or add your real data and use that — in which case, follow the steps below!
Add your first real site to Axle
- At the bottom of the sidebar, you'll see a gear icon.
- Click into Settings > Sites > "Add site" in the top right corner to add your first real site to Axle.
- You'll fill out the site name, street address, and optionally, assign members to your site.
Once you've added the site, go to the site selector at the top of the sidebar to switch into that site.
Add your first real asset to Axle
- Go to Fleet > Assets > "Add asset" in the top right corner to add your first real asset. When you enter the VIN, the make, model, and year will be auto-populated.
- If applicable, add the asset ID, license plate, and nickname, and select which asset type and configuration it is.
- Then click "Add asset" to finish.
Add your first real service provider to Axle
- Go to Vendors > Service Providers > "Add provider" in the top right corner.
- Enter the company name, sites served, street address, and a contact person with their email and optionally, their phone number.
Email is required to send the repair to the provider.
3) Send your first repair request
Create a new work request
- Go to Work > Intake > "New work request" in the top right corner.
- Search for an existing asset from your Assets list to select it.
- Select a state of the asset (safe, unsafe, grounded, or unknown), and then optionally, set a priority for the request.
- Select a type for the work request — for this repair, select "Unscheduled".
- Fill out the issue field below with a brief description, ie. "This truck has a broken marker light."
- Click "Create work request."
You can view this work request in Intake > To action tab.
Create an external ticket and send it to the provider
- Open the work request you just created.
- Click "Approve" and "Create external ticket".
- Toggle to "Send via Axle," select a service provider, and optionally, choose to require an estimate from the service provider before they start work.
- Select the contact person to send the ticket to in the "Via email" dropdown, and click "Create & send".
4) Follow and review the repair
The service provider will receive an email with a link to view the job and accept or decline. After accepting, they'll be able to upload the estimate and invoice at that same link for you to review.
Go to External Tickets and open the external ticket you just created. Here, you'll be able to follow the status of the job — if the provider accepts or declines the work, as well as review and approve the estimate and invoice.
Follow and close out the repair
- When the provider accepts the job, you'll see the estimate and invoice upload fields visible.
- Once the estimate has been uploaded, click "Review" and then "Approve estimate."
- Once the invoice has been uploaded, click "Review" and then "Approve invoice."
- Then, click "Mark ticket as complete" — this will create a repair order record in Axle for the asset's history.
Note: you can also upload estimates and invoices from the service provider yourself if they prefer to send it to you outside of Axle's dedicated link.
Continue from here
Add the rest of your sites, assets, and service providers to start dispatching repairs to service providers on Axle. You can also create maintenance schedules for your assets to automate scheduled repairs (more in this guide).
If you'd like to enter an external repair manually, you can
If you have any questions, feel free to email support@axlemobility.com and we'll help you out the same day!